Friday, July 18

babysitting

hanging out with eli

cinnamon rolls

sleep over

ready for the rain

This week has been filled with babysitting. It has been tons of fun and interesting. Today, I will also be babysitting the same kids I've seen all week! I mean you do get perks from babysitting, such as getting the kids to make you lunch, or a snack such as a cinnamon bun roll! 

I will be attempting to take 5 kids to watch a free movie today, I hope it goes well. Wish me luck.

Hope you guys have a great weekend!!

Thursday, July 17

rain rain rain .... boots


I have been looking for rain boots forever. Who knew looking for rain boots would be so hard? I have a red and a black rain coat and have been looking for boots to match my jackets and all of the outfits that I have. I've dreamed of yellow rain boots but have yet to find a pair I really like. I have also coveted the well known hunter boots, because they are iconic. As well as the burberry rain boots. But alas, I think I have found the perfect pair, especially for the expected rain that is to come the next few days. 

The pair I chose are from J. Crew, they are a chelsea style boot, and leopard print! I mean when I saw them I just couldn't resist. They would match everything I have, and everything I would ever own. Leopard print to me is a neutral and I love them!! I can't wait to splash around in them!

styled by my little cousin Abbey


What do you think? What are your favorite pair of rain boots?


Wednesday, July 16

diy: mason jar bedroom reading light

Mason Jar Reading Light

Materials:
1 Mason Jar
1 Alang Wall Lamp (from ikea)
Paint/Spray Paint
1 Hammer
1 Nail
1 Lightbulb

Directions:
1. Unpack the Alang Wall Lamp of course. You can either paint the metal, or spray paint it depending on how you feel. You don't even need to paint it, if you don't want to.
       ***If you spray paint make sure to cover all the plastic with painters tape or paper 


2. Next, you need to trace out the socket onto the lid of the mason jar. Then take your nail and hammer and hammer small puncture holes close together on the circle you traced. Do this completely and it'll make it easier for you to create the opening for your jar. (Sorry I didn't take any pictures of this step). Here are the clear instructions I followed to make the opening.


3. Next you will need to place the lid onto the lamp. I found it easiest to "screw" the lid on. Then you will secure it into place.

4. Lastly you just need to follow the ikea instructions to place the lamp onto the wall. You will need to flip it upside down.

As you can tell my cousins each made their own!!!!


You can really put any type of jar at the bottom you like.

Happy Crafting!!

Tuesday, July 15

starting the week off right

puppy party monday

home cooked dinner

ahhhh, another monday has passed. I can't believe we're already in the middle of July. It makes me sad and a bit stressed that summer is almost over! With all these things I need to do, I know for sure I won't be able to finish them. Especially with some last minute out of town trips that I'm super excited about, but now I don't know when I will be able to prepare my classroom. I could do it this week but I don't feel prepared enough to do them. Secretly, I'm just making excuses to not go to school and hoping summer will last just that much longer.

Hopefully this week will be a productive one…. since I do have a couple days of baby sitting planned. Any ideas on free fund activities?

Have a great week!

Monday, July 14

weekend recap

sleeping puppy

making custom reading lights

free slurpee anyone?

girl cousins in the back seat

sunday morning frisbee


This weekend was filled with friends and family! Which are always the best.

On Friday, I took John's niece to hang out with my cousins, and we made some wall lights for them to use in their bedroom as reading lights. A post later this week on the how to for those! Then I took Ayven to get a free slurpee since Friday was 7/11. 

Saturday, was filled with the girls again. John's nieces and I went for lunch and a shopping adventure. The girls wanted to bring John some lunch at work, so of course we did that. Then afterwards we went shopping for a few good hours finding the perfect outfit for them to wear to a wedding. We ended up at Jusitce, their favorite store. This was my first time going! I never thought you could walk into a store where everything was jeweled or glittered in my life. After, we found their perfect outfit, they went home and I went to hang out with my cousins. We went to go watch How to Train Your Dragon 2.  We all loved the movie of course, since we were fans of the first one.

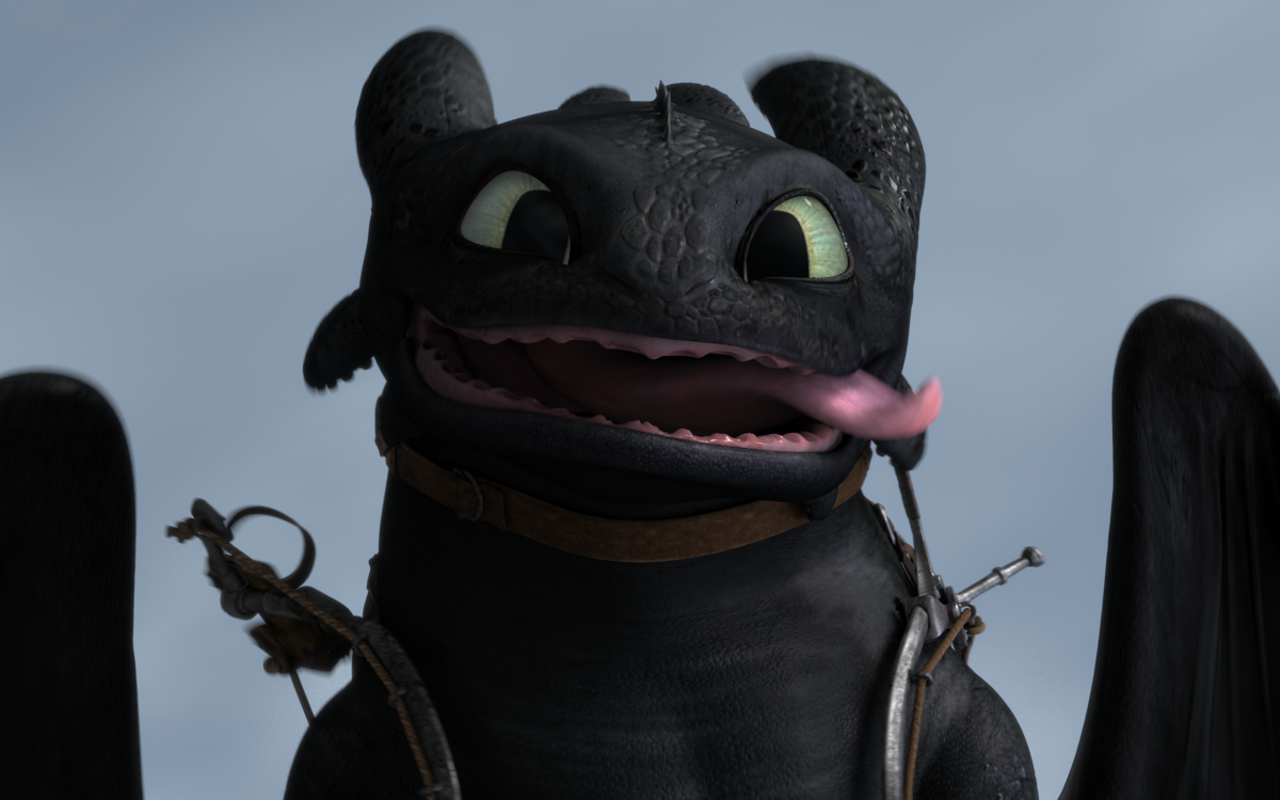
The main dragon character toothless reminds me so much of Duke. His color (no brainer) and definitely his personality. Toothless is so playful, loving, and sweet. He also loves to give kisses just like Duke does. 


On Sunday, I went for a morning run in the killer heat, while John took Duke to the park for some frisbee. Then we switched and I walked Duke home and John went for his run. Duke loves to play catch with the frisbee, and is quite good at it. But when it comes to fetching with a ball, he doesn't seem to like it and never retrieves it. He is such a goofball.

My goal this week is to take Duke running with me at least three times this week. 

Friday, July 11

it's friday

more crafting

ikea adventures

beautiful art while walking

daily walk/run

This week was extremely relaxing. So relaxing, it was so hard for me to sleep at night because I had too much energy. I got to keep the puppy all week with me, so every morning we've been going on a run/walk around the neighborhood. I have never run with a dog and Duke has never really run with a person before, so it has been a fun and energy depleting adventure for us. Duke's been running really well with me, sometimes he'll look up at me in wonderment but I think he's starting to like it. It has definitely pooped him out. 

The week was also filled with crafting as you could tell from a few of my posts. I have tried to make more posts this week. I also got to go on an Ikea adventure with my friend Demas. We got him a few things for his home, such as organization things, furniture, and some decorations. I can't wait to go over and maybe help him with all that, but definitely to see the end result of everything. 

The 100 happy day challenge has been going great. My only problem is deciding what to post, because so many things make me happy. And then I'm afraid to post all of the same thing (which it will turn out to be!) 

Here is an updated summer to-do list that I posted earlier. I have added somethings and finished them already!
1. create a pallet board wall
2. paint the shelves in my bathroom
3. repaint/refinish a 1950s outdoor metal glider bench
4. framed hanging magnetic scrabble boards
5. framed wine cork board
6. fix my framed chalkboards
7. reading lights for the living area
8. reading light for the bedroom
9. re-paint a sewing table
10. sew a set of curtains
11. sew a simple puppy bed

I hope you guys have a great weekend filled with families and friends (which is what I have planned). 

Wednesday, July 9

diy: wine cork board


Ok Guys, here's another diy. As you can tell this summer has been full up projects to upgrade my place!! I'm finally putting to use all the frames that have been sitting around my little place. Above are the only pictures I have (I'm sorry)

Wine Cork Board
Materials:
1 frame
left over wine corks
hot glue gun
foam board (if it is an empty frame)

Instructions:
1. Take out the glass and backing of the frame, you only need the frame for now.

2. Paint the frame however you'd like, what ever color you like. You don't need to paint it if you don't want to.

3. Next, you will not need the glass, all you need is the backing of the frame. You can either put the backing of the frame back in. Or if it was an empty frame you will need to cut a foam board to fit into the back of the frame and lock it in.

4. Then you will place the wine corks into the frame however you'd like. It is best to place everything first before you hot glue it in so that you can make sure everything fits properly.

5. Last, glue all the wine corks in and you are done!!!